

We finally did it. We added a Splendide washer and dryer in the front bedroom closet. Our rig comes with washer dryer prep so you would assume you just slide them in and hook them up. Unfortunately that is not the case.
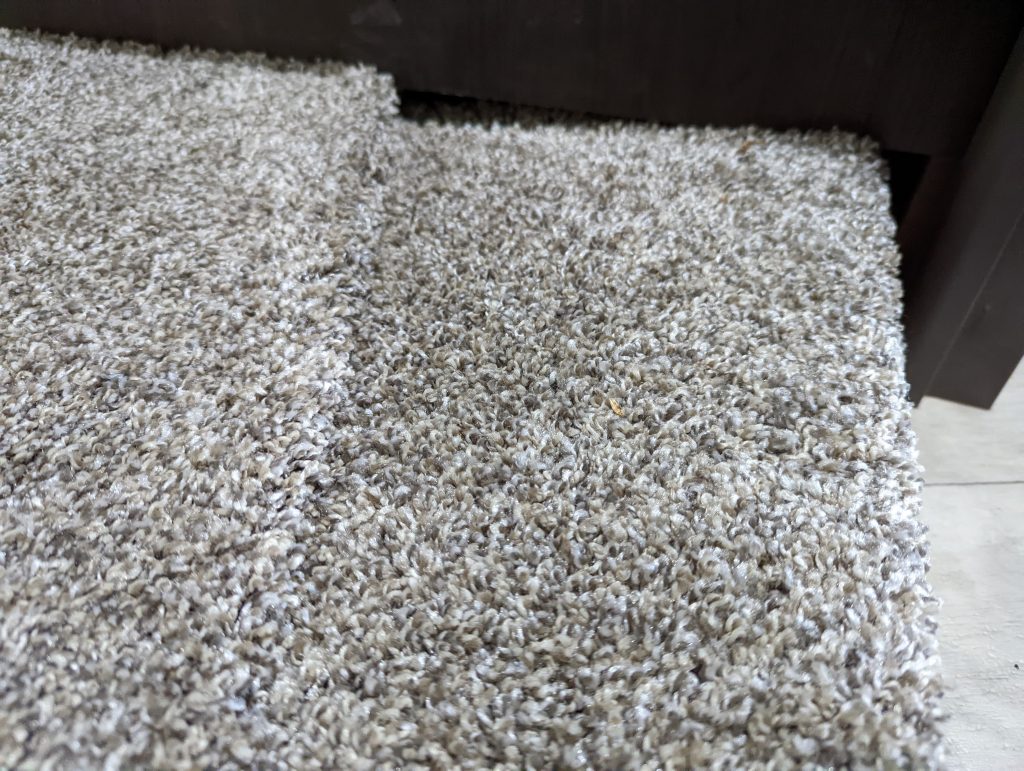
The first issue Eric encountered was that the floor in the front closet was not level. It was not even made out of one piece! A piece of plywood did the trick and a stable base was created.
Up next was the scariest part, in order to install a vented dryer you need to drill a 10 cm hole through the side. And no, you do not do this where the arrow points, if only it was this easy. Instead, you remove the back wall, the insulation and then try to measure and figure out where you will end up on the outside so you can put tape there and not cause a whole lot of splintering. I wasn’t there, so I can’t really tell you how this part went, but it looked great finished.
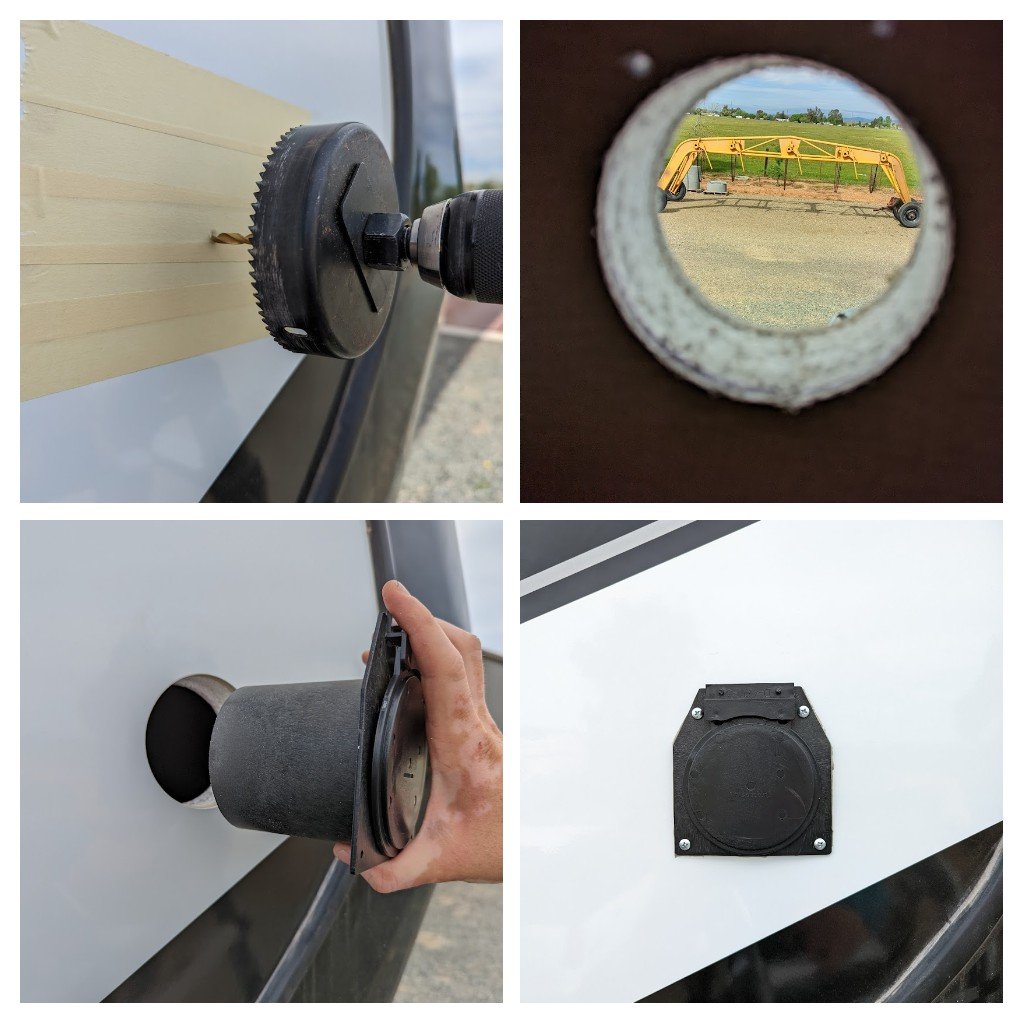
With the vent in place and the floor reinforced we Eric was able to install a tray that should in theory contain any leaks. He also installed the duct for the dryer, and we dangled it on the ceiling for the time being.
And then the moment of truth, bringing in the washer. We removed the door to the front bedroom and the door to the closet and the handle bar in the hallway and drove the washer up the ramp through the garage and living room and into the bedroom. It took a bit of manoeuvring, but in the end she slid right in.

The dryer is a lot lighter, so getting it to the bedroom was a breeze. But installing the duct to the back while it was in the closet not so much. I was contemplating just taking out the side wall. But in the end we succeeded, and we are now the proud owners of our own washer and dryer!!
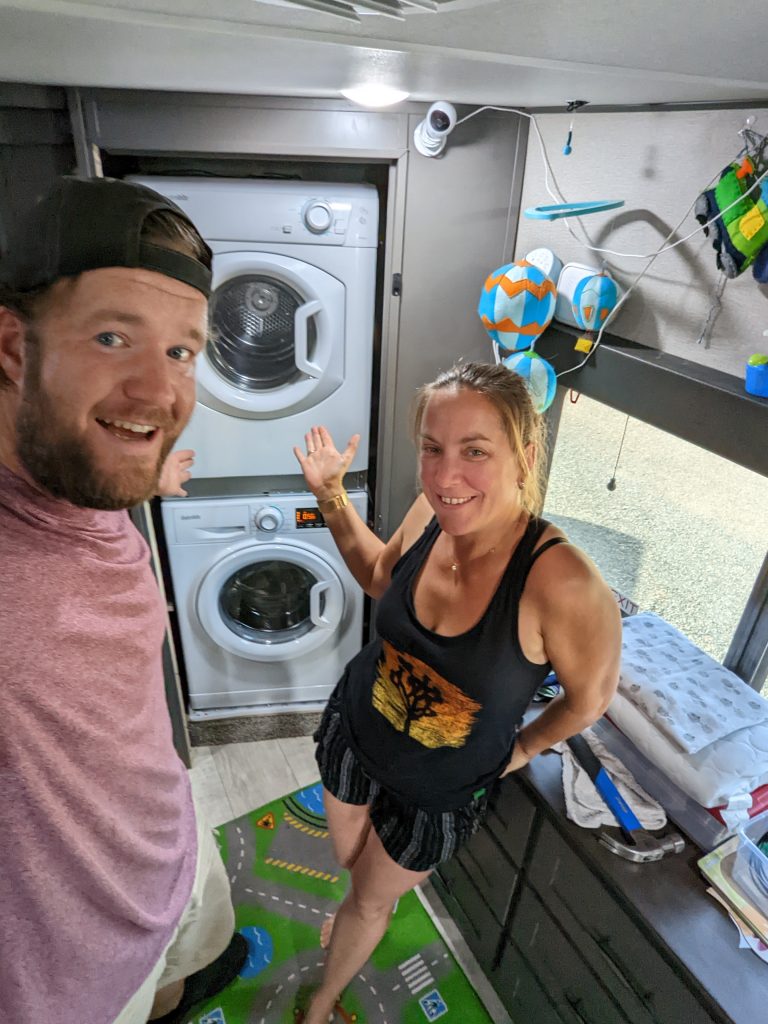
Whaaalaaa…just like that, Clean Clothes for everyone 😉 Well done Eric…enjoy Nadine 💗